How to check if you installed a compromised npm package
A step by step guide to finding a compromised npm package in lockfiles, servers and images, removing it safely and confirming it is gone.
TL;DR
- Goal: find out whether a package named in a supply chain report is installed anywhere you run code, and remove it safely.
- Key commands:
npm lswith the package name, thennpm explainfor how it got there, andnpm cito reinstall from a clean lockfile. - Do not stop at one project: the same lockfile pattern repeats across repositories, build servers and images.
- Know the limit: a malware advisory has no fixed version, so the fix is removal and secret rotation, not an upgrade.
- Confirm it worked: the package no longer shows in
npm lsor in the lockfile, on every machine.
Why a compromised package matters
A package from a public registry runs with the same rights as the code that installs it. A malicious or hijacked package can read environment variables, steal tokens and run commands on a developer laptop or a build server, often through an install script that runs the moment you install it. Nothing has to be started on purpose, and the first sign is usually someone else noticing.
The GitHub Advisory Database separates ordinary vulnerabilities from malware. A vulnerability is a mistake in code that is fixed in a later release. Malware is code built to do harm, and its advisory has no fixed version, because the only safe course is to stop using the package. That changes what you do: you remove the package and treat the machines that installed it as exposed, instead of simply upgrading.
Before you start
- The name of the package and the versions named in the report. Without exact versions you cannot tell a bad install from a clean one.
- Read access to every repository that uses Node.js, and to the build servers and container images that install packages from them.
- A way to reinstall in a clean directory, so you can test the cleanup without touching a live service first.
- A list of the secrets that a build or a developer machine can reach, so you know what to rotate if the package turns out to be installed.
Step by step
- Collect the facts. Note the package name and the affected versions from the report. Search the GitHub Advisory Database for malware advisories, and look the package up in the OpenSSF malicious packages repository, which collects reports in the Open Source Vulnerability format.
- Read the lockfile. Open
package-lock.jsonand look for an entry for the package under the packages section. Each entry has aversion, and a path that starts withnode_modules. A match with a bad version means the package was installed from this lockfile. - Check what is installed on disk. Run
npm lsfollowed by the package name. The command takes identifiers in the formname@version-range, so you can limit the output to the bad versions. Add--allto include packages your project does not depend on directly. - Find out why it is there. Run
npm explainwith the package name to see the chain of dependencies that pulled it in. That tells you which direct dependency to change or remove. - Repeat for every place that installs packages: other repositories, build servers, container images and developer laptops. A lockfile that no longer contains the package can still have been used to build an image last week.
- Remove the package. Change
package.jsonor your dependency choices so the package is no longer pulled in, regenerate the lockfile, and check the diff. Then runnpm cito reinstall from the lockfile. It removes any existingnode_modulesfolder first and never writes to the lockfile, so what you test is exactly what will ship. Use the--ignore-scriptsoption while you investigate, so install scripts such aspreinstallandpostinstalldo not run again. - Rotate secrets. If any machine installed a bad version, assume that anything it could read is exposed: registry tokens, cloud keys and deployment credentials. Rotate them, and review recent activity for anything you do not recognise.
How to confirm it worked
Run npm ls with the package name again, in every project and on every build server. It should report nothing. Open package-lock.json and confirm no entry for the package remains. Then rebuild the container images that were built before the change, because an old image keeps its old packages until it is rebuilt, and check them too.
Finally, write down what you found: which repositories had the package, which versions, which machines installed it and what you rotated. That record is what a customer or an auditor will ask for.
How Stackurity helps
The manual steps above work one project at a time. Stackurity reads npm lockfiles in repositories and keeps one live inventory of the packages on your servers and in your container images, so you can search a package name or version once and see every repository, server and image where it is installed. That answers the hardest question in an incident, which is how far it spread, in one place instead of a day of checking.
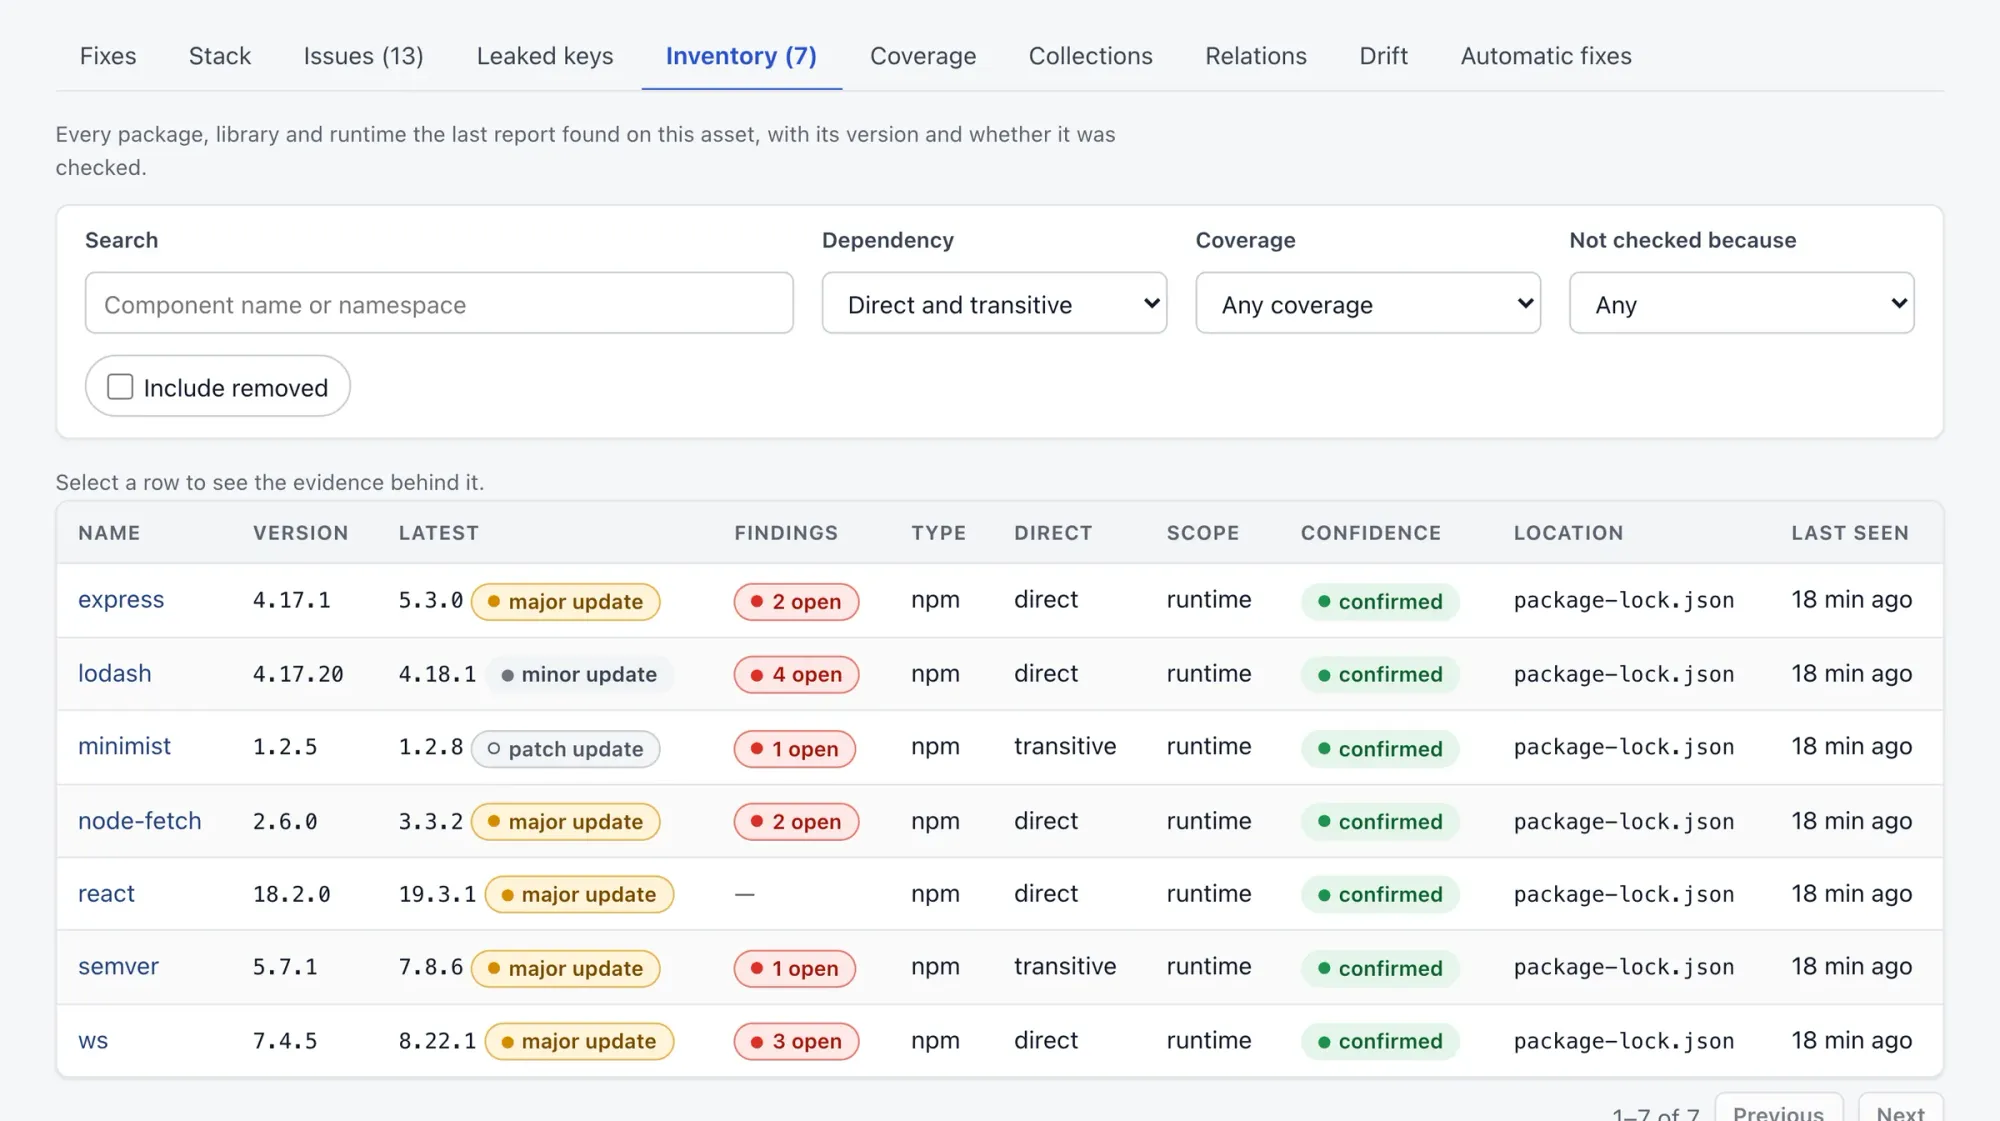
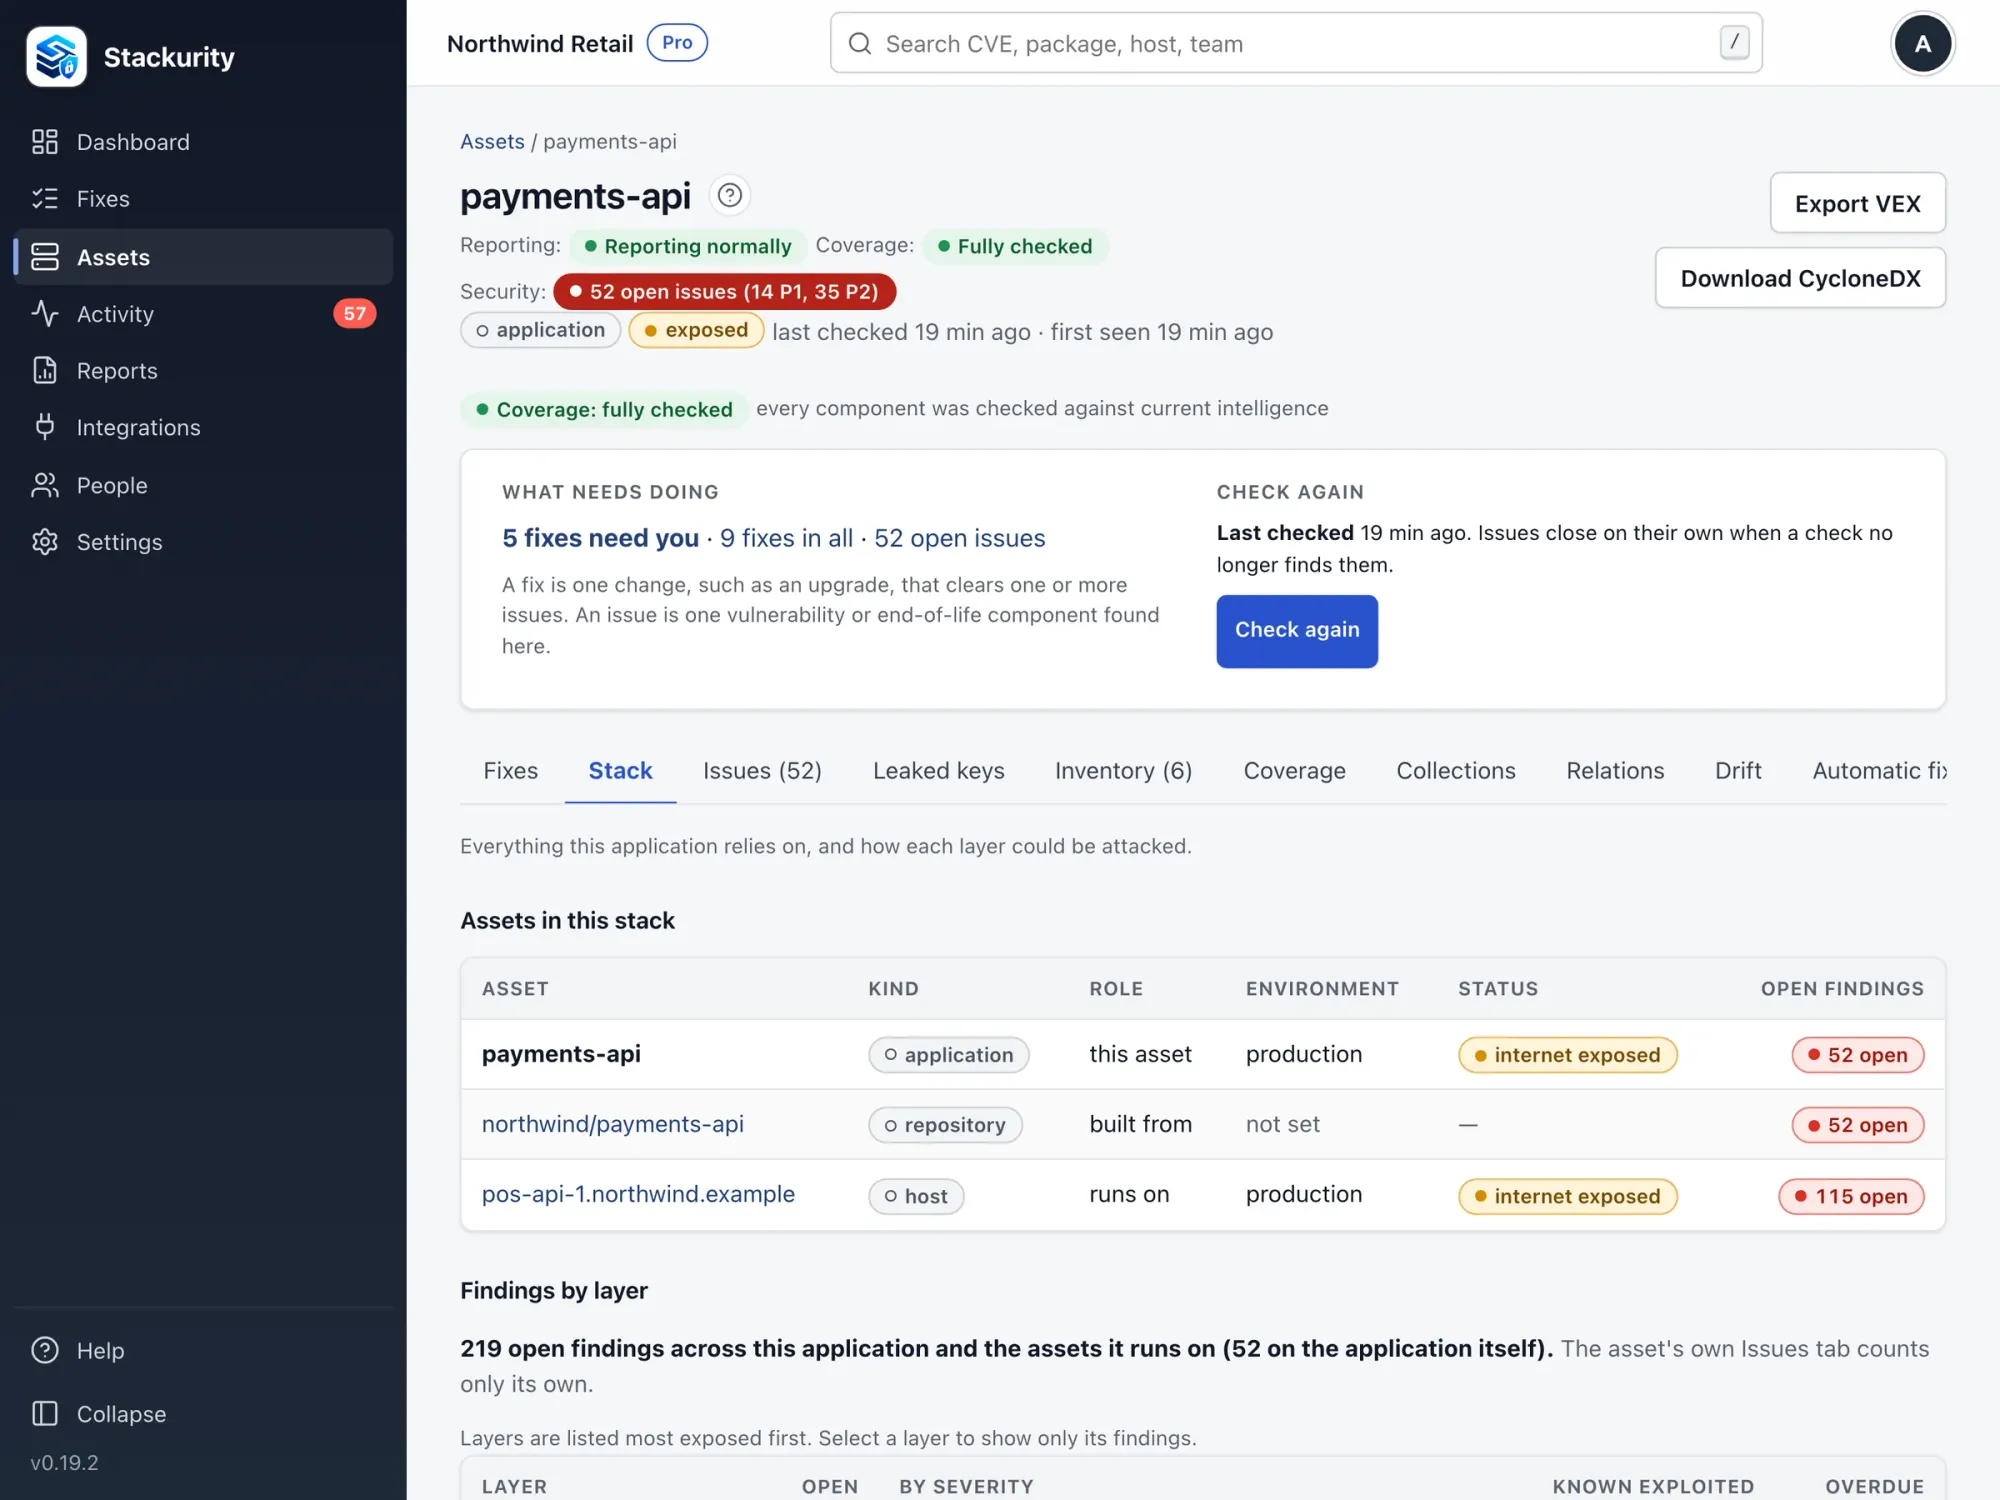
Be clear about what it does not do. Stackurity matches your inventory against vulnerability advisories, and we do not claim it flags malicious package reports, so take the package name and versions from a malware advisory and use the search to find where they are installed. After you remove it, Check again asks for a fresh report and records whether the issue is gone. See the AI assistants documentation for asking the same question from an assistant. Start a free trial of Stackurity and search for a package you worry about.
FAQ
How do I check if I installed a compromised npm package?
Take the package name and bad versions from the report, then look for them in package-lock.json and in the output of npm ls. Check every repository, build server and image, not only the one you are looking at.
What if the compromised package is a dependency of a dependency?
Run npm ls with the package name and add --all so nested copies show up, then use npm explain to see which of your direct dependencies pulls it in.
Is it enough to update the package to a newer version?
Not always. A malware report has no fixed version, because there is no safe version of a package that was built to be malicious. For a package that was hijacked, follow the maintainer's advice on which versions are clean, and remove the bad ones.
What should I do after removing it?
Treat the machine that installed it as exposed. Rotate any secret that was available to the install or the build, reinstall from a clean lockfile with npm ci, and check the other machines that installed the same version.
Sources
Sources: npm ls, package-lock.json, npm ci, GitHub Advisory Database and OpenSSF malicious packages.