How to safely upgrade a vulnerable npm dependency
A step by step guide to upgrading a vulnerable npm package: audit, preview the fix, handle transitive dependencies with overrides, and confirm it worked.

TL;DR
- Goal: move a vulnerable npm package to a fixed release without breaking your build.
- Key commands:
npm auditto see the problem,npm audit fixto apply the safe upgrades,npm lsto see where a package comes from. - When that is not enough: update the direct dependency that brings the package in, or add an override in the root package.json file.
- Check it worked: run
npm auditagain and read the installed version, then run your tests.
Why it matters
Most of the code in a modern application is code somebody else wrote and published. When a flaw is found in one of those packages, the fix is almost always a newer release, and the work left for you is to adopt it. Teams put this off because an upgrade can break something, so the vulnerable version stays in the lock file for months. A repeatable routine turns the upgrade into a small, reviewable change instead of a risky project.
Before you start
- Work on a branch, so every change is easy to review and easy to throw away.
- Make sure the project has a lock file committed and that your tests run cleanly before you change anything, so a failure afterwards points at the upgrade.
- Know whether the package is a direct dependency, listed in your own package.json file, or a transitive one pulled in by another package. The steps differ.
- Plan a short window to run the full test suite, and a way to roll back by reverting the branch.
Step by step
- List the problems. Run
npm auditin the project folder. It reports each vulnerable package with its severity and the version range that is affected, and it tells you when a fix is available. - Find where the package comes from. Run
npm lsand look for the vulnerable package in the tree, or usenpm explainto see the chain of dependents. This tells you whether it is a direct or a transitive dependency. - Preview the safe fix. Run
npm audit fix --dry-run --json. It shows what npm would change without touching anything, which is a good way to spot surprises before they reach your files. - Apply the safe upgrades with
npm audit fix. Review the diff of package.json and the lock file, and run your tests. If you only want the lock file updated,npm audit fix --package-lock-onlydoes that without changing what is installed. - If something is still reported, look at what is left. For a direct dependency, run
npm outdatedto see what newer release exists, then move it withnpm install <name>@latest, reading the release notes first because a new major release can break your code. For a package inside the tree,npm updaterefreshes dependencies within the ranges they allow. - If the parent package has no release that fixes it, add an entry under the overrides key of the root package.json file, naming the vulnerable package and the patched version or a version range that sets the minimum, then run
npm installto rebuild the tree. Overrides in dependencies are ignored, only the root file counts, and you should remove the entry once the parent catches up. - Run your tests and a build, commit the change with a message that names the package and the reason, and open a pull request.
The force option of the audit fix command exists, but it can install breaking releases. Use it only on its own branch, as a conscious decision, and read the result as carefully as you would a manual major upgrade.
How to confirm it worked
Run npm audit again. The package you fixed should no longer appear, and the summary should have fewer entries. Run npm ls to read the version that is actually installed and compare it with the fixed release in the advisory. If the old version still shows up somewhere in the tree, a second dependency is holding it back, so go back to the step that finds where it comes from. Finally, check that the lock file in your branch is the one that gets deployed, because an upgrade that never reaches the build does not protect anyone.
How Stackurity helps
Running npm audit by hand works for one project. Stackurity does the same job across every repository you add. It reads the lock file of each npm project, matches the packages against vulnerability advisories every hour, and turns the findings into fixes: one card per upgrade, with the version to move to and every issue that upgrade clears. That means you see the single upgrade that removes the most problems, not a long list of advisories.
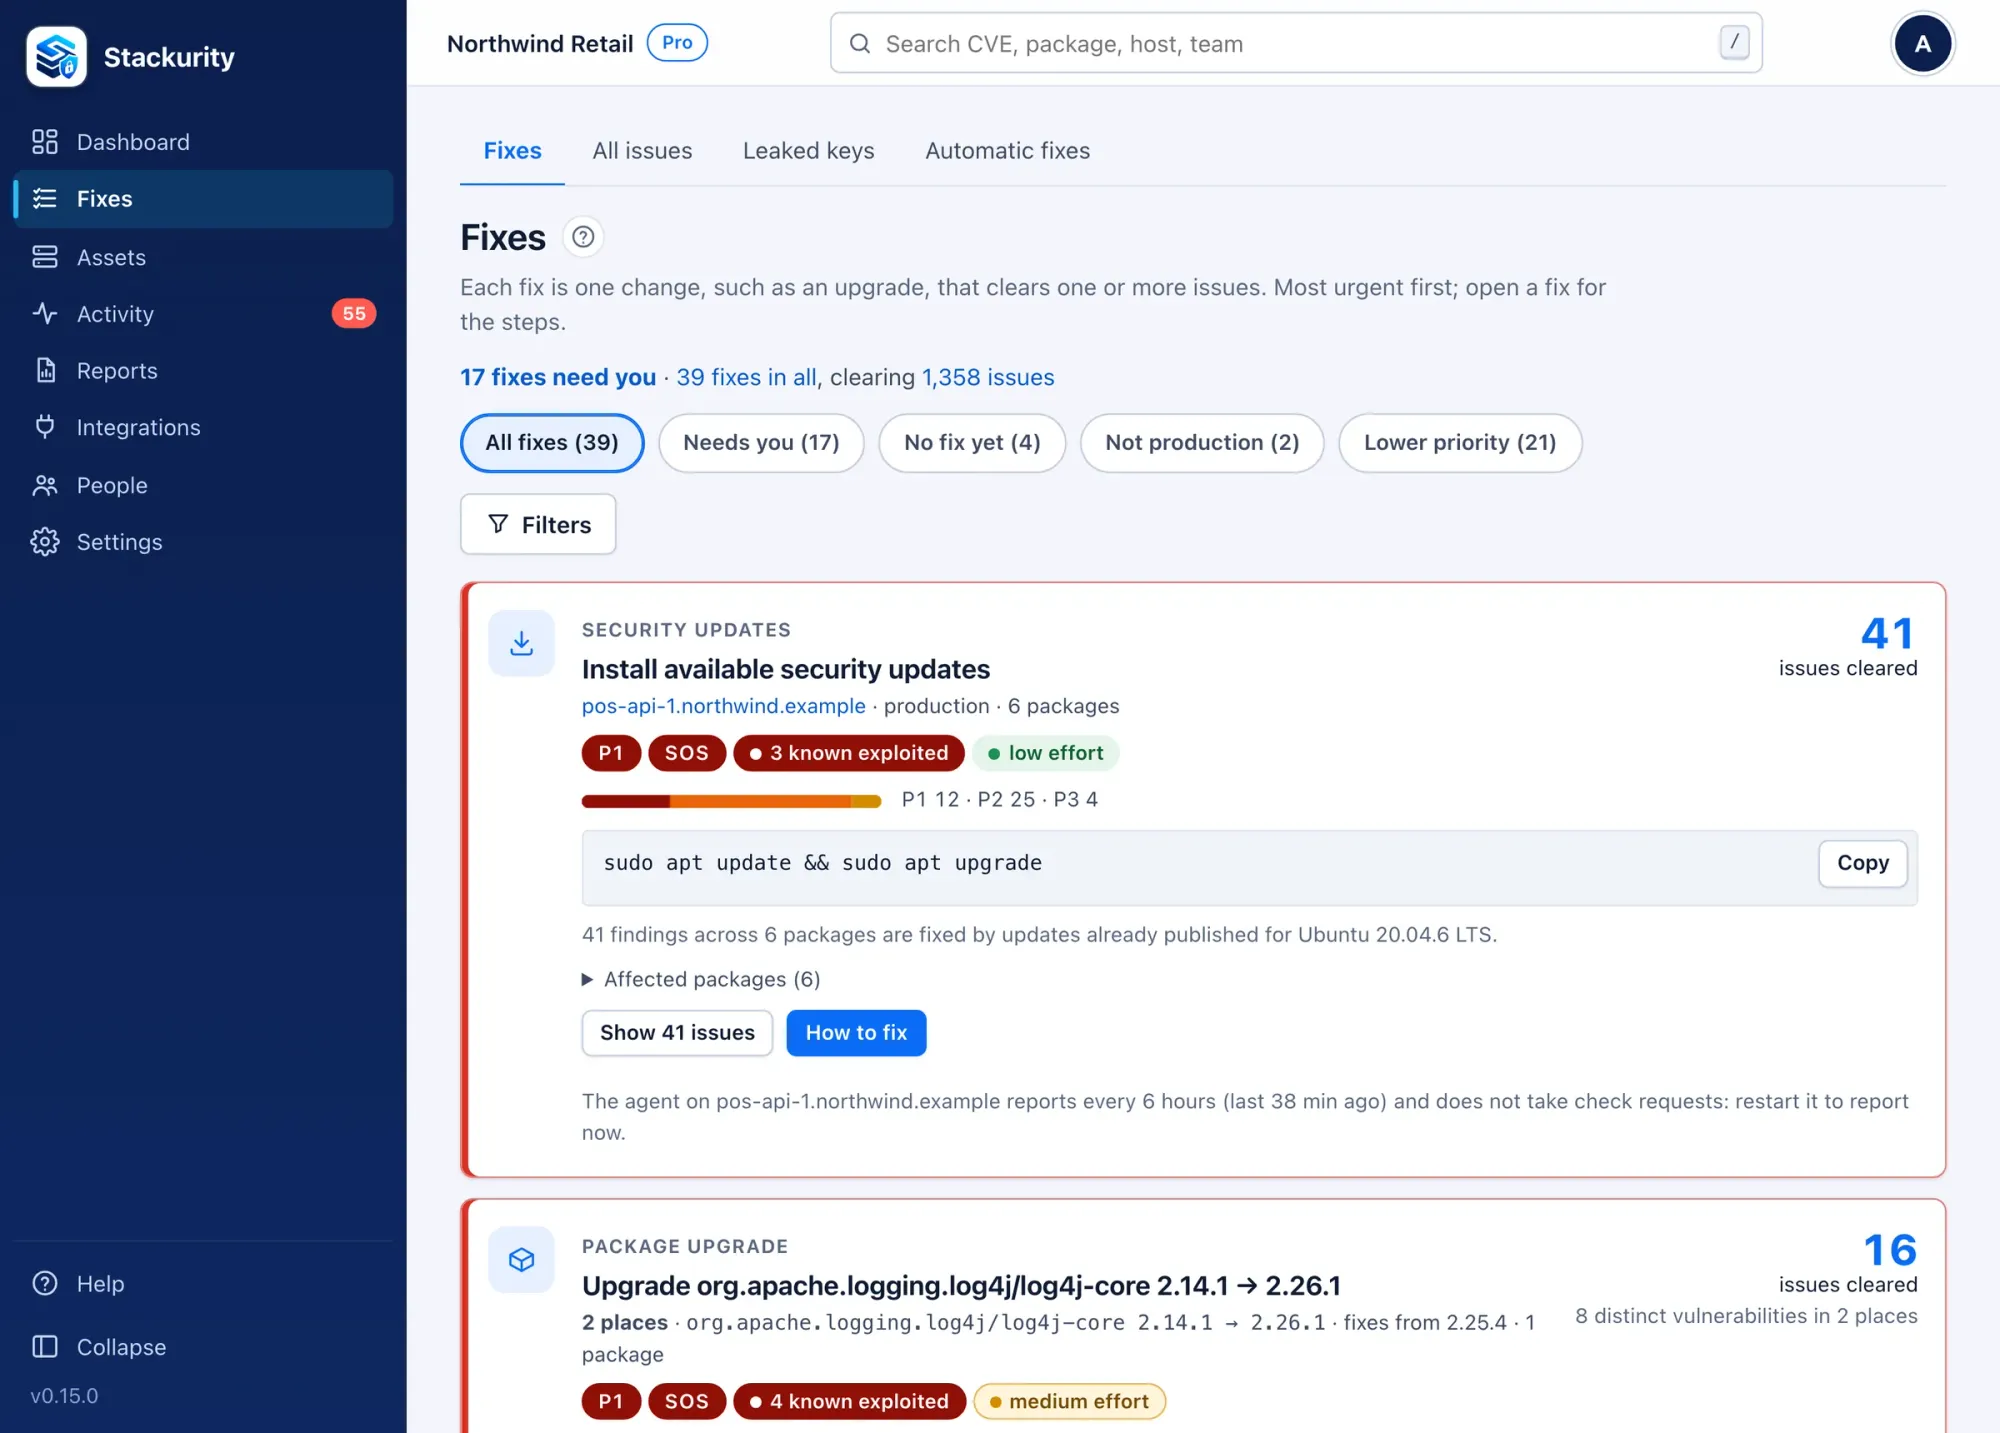
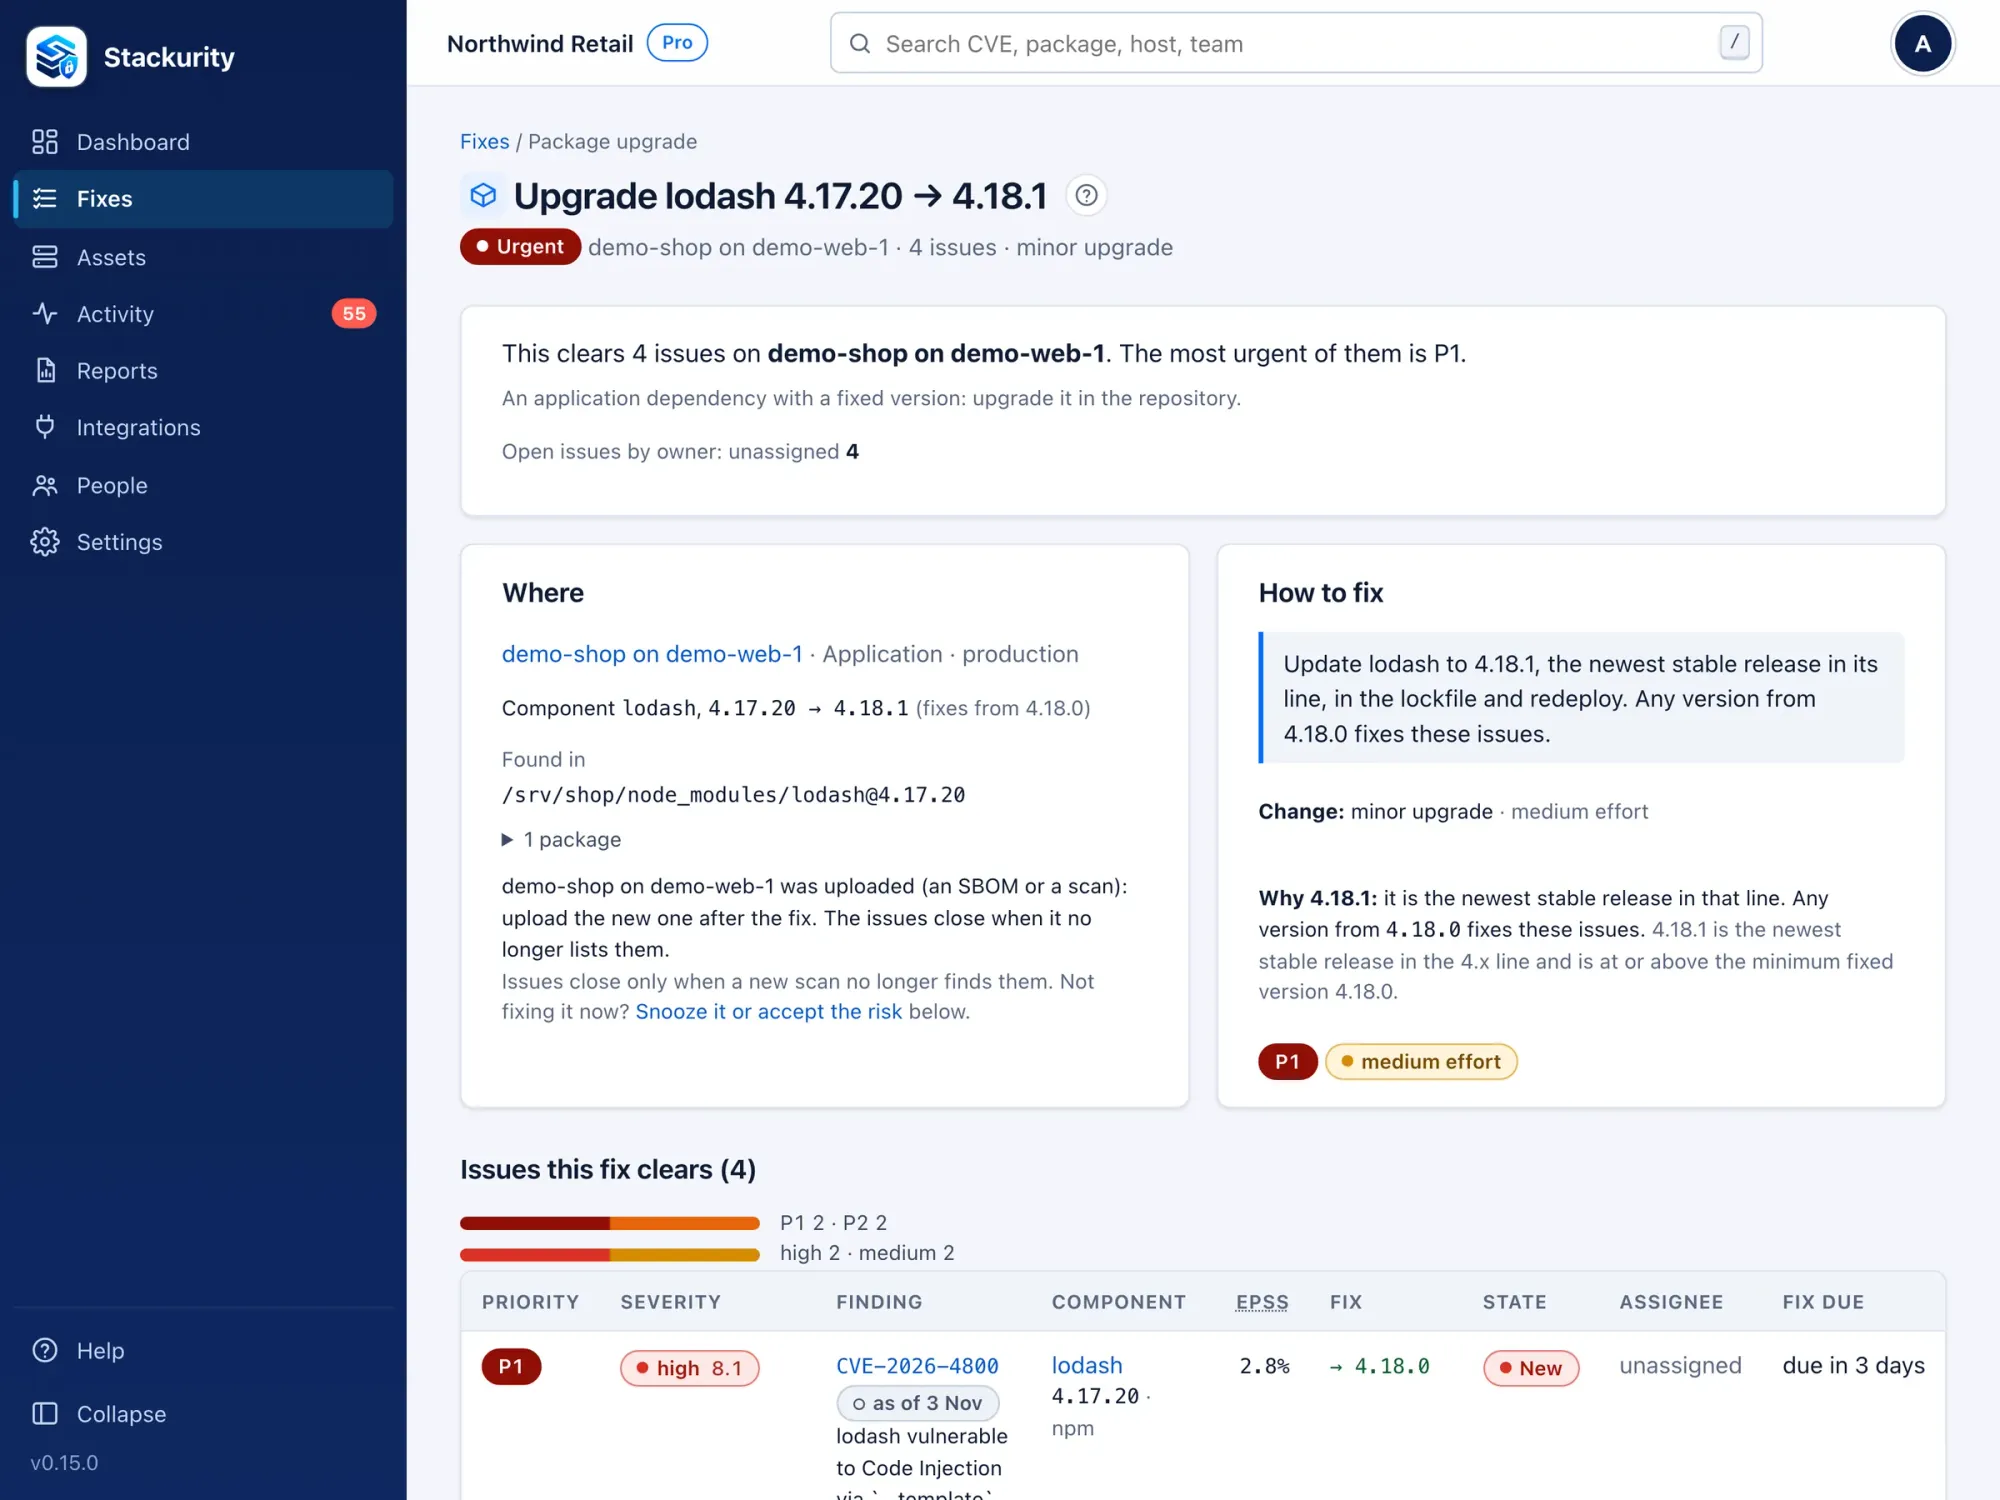
After you merge, check again asks the agent for a fresh report and records whether the issue is passed, partly fixed or still open, so closing a ticket is based on evidence. Libraries copied into an application outside a package manager or lock file are not covered. You can also add a CI gate so that a vulnerable change is stopped before it ships. The remediation documentation shows how fixes are tracked. Stackurity Cloud has a 14-day free trial without a card: start a free trial.
FAQ
Is npm audit fix safe to run on a production project?
Run it on a branch first. By default it applies only upgrades that stay inside the version ranges your package.json already allows, and a plain run changes the lock file and installed packages together. Review the diff, run your tests, and only then merge. The force option can accept breaking changes, so keep it for a deliberate, separate step.
What if the vulnerable package is a dependency of a dependency?
First find out which of your direct dependencies brings it in. If that package has a newer release that pulls in a fixed version, update it. If it does not yet, npm lets you add an override in the root package.json file that makes the whole tree use a patched version. Treat an override as temporary and remove it once the parent package catches up.
How do I know the upgrade actually removed the vulnerability?
Run npm audit again after the change and read the installed version with npm ls. Both should agree that the vulnerable range is gone. For a team, a scanner that reads the lock file and re-checks after the fix gives a record that the issue is closed.
Should I upgrade development dependencies too?
Yes, but prioritise what ships. Packages that end up in production matter first, then build and test tooling, which can still leak secrets or run code on a build server.
Sources
Commands and options come from the npm documentation: npm audit, npm ls, npm update, npm install and package.json. Product facts: Stackurity.