Leaked API key or token in a repository: how to respond
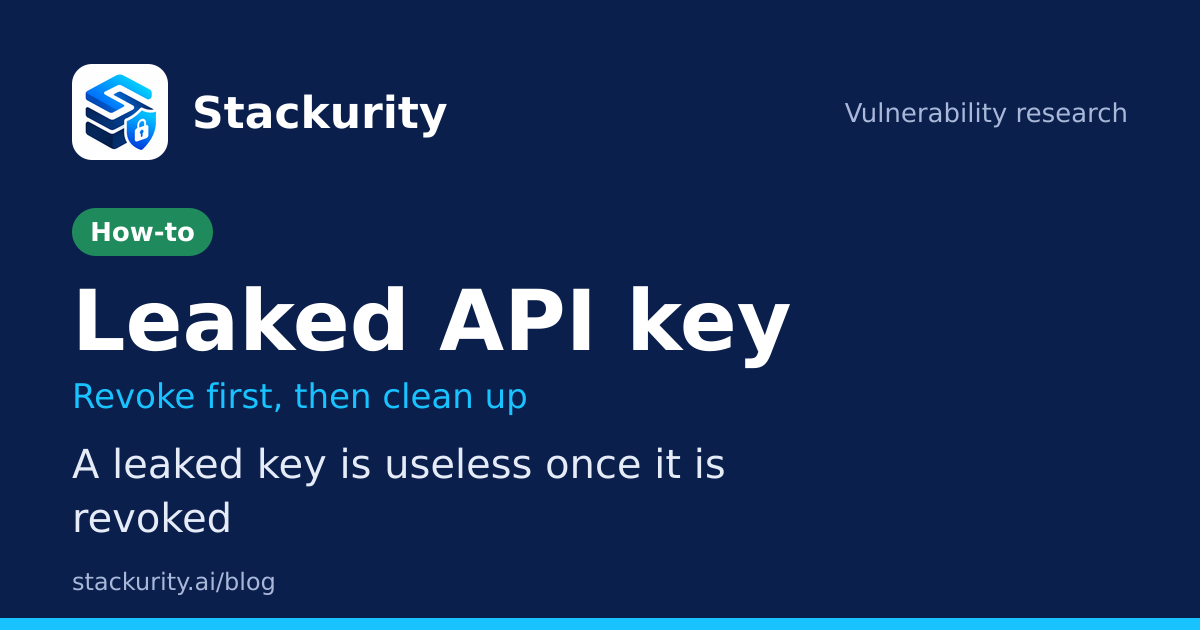
A key or token was committed to a repository. Revoke it first, then decide whether to rewrite Git history, and confirm the old key is gone.

TL;DR
- Goal: make a leaked API key or token useless, then find out where else it was exposed.
- The key step is to revoke or rotate the credential at the service that issued it. Do that before anything else.
- Only then decide whether to rewrite Git history with
git-filter-repo. It is slow and affects every collaborator, and is often unnecessary once the key is dead. - To confirm it worked, check that the old key is refused, that the new one works, and that a fresh scan no longer finds the old value.
- Stackurity finds keys written in files, grades each one, and shows it as verified gone only after a complete scan no longer finds it.
Why a leaked key matters
A key or token is a password for a machine. Whoever holds it can do what the key allows, from anywhere, without a second factor. When one is committed to a repository, it is copied into every clone and fork, and it stays in the history after the file is deleted. Automated scanners look for exposed credentials continuously, so the question is rarely whether someone will see it, only how soon.
The damage depends on the key. A narrow, read-only token for one repository is a nuisance. A cloud account key or a payment key can mean data theft, a surprise bill or fraud. This is why the order of response matters: make the key useless first, then clean up.
The GitHub secret scanning documentation says to rotate an exposed credential as soon as you learn of it, and notes that removing secrets from history is time-intensive and often unnecessary once the credential is revoked. The GitHub guide to removing sensitive data makes the same point from the other side: revoke or rotate first, and rewrite history only if it is still warranted.
Before you start
- Know who owns the key and which service issued it. You cannot revoke a key you cannot trace, so find the issuer first.
- Have access to that service's console, or to someone who does, so you can revoke and reissue without waiting.
- List where the key is used, such as deployment pipelines, servers and applications, because rotating it breaks each of them until it gets the new value.
- If you plan to rewrite history, agree a time with your team and ask them to merge or close open pull requests. Everyone who has a clone will need to re-clone.
- Take a backup of the repository first. A history rewrite becomes irreversible once you push it.
Step by step
- Revoke or rotate the key at the issuer. Create the replacement, deploy it to every place that used the old key, then delete the old key. For a personal access token, use a fine-grained token limited to the repositories it needs and give it an expiry.
- Check the logs of the service for use of the old key that you did not make. If you find any, treat it as an incident: the key was used, so look at what it could reach and rotate anything else it could read.
- Decide whether to rewrite history. If the key is revoked and the repository is private to a small team, you may stop here. If the data is sensitive in itself, or the repository is public, continue.
- Clean up the rest. Pull request references to the old commits are read-only on GitHub, so the platform's support team has to remove them. Ask collaborators to re-clone, and ask the owners of forks to delete theirs or remove the commit.
Check the result, then push the rewritten history over the old one. Branch protection that blocks forced pushes has to be off for the moment of the push:
git push --force --mirror originRemove the file from all of history. Use the full path of the file in the repository, and repeat for any other path it had in the past:
git-filter-repo --sensitive-data-removal --invert-paths --path PATH-TO-YOUR-FILE-WITH-SENSITIVE-DATAInstall the tool and clone a fresh copy to work on:
brew install git-filter-repo
git clone https://github.com/YOUR-USERNAME/YOUR-REPOSITORY
cd YOUR-REPOSITORY
How to confirm it worked
There are three checks, and the first is the one that matters. First, try the old key against the service: it must be refused. Second, make sure everything that used the key works with the new one, by looking at the deployment pipelines and applications you listed. Third, scan the repository and its history again for the old value. If you rewrote history, also clone the repository afresh and search the clone, since a clone made before the rewrite still has the old commits.
Do not mark the work done when the new key is issued. Done means the old key is refused and a scan no longer finds it. Keep a record of when each step happened, who did it and which systems changed, because it is the evidence an audit or an incident review will ask for.
How Stackurity helps
When the first sign of a leak is a ticket from a security team, the hard part is finding every place. Stackurity finds keys, tokens and passwords written in files across your servers and repositories, grades each by where the file is, and raises incidents for the critical and high ones. Alerts go to the channel each team chooses, such as Slack, email or Jira.
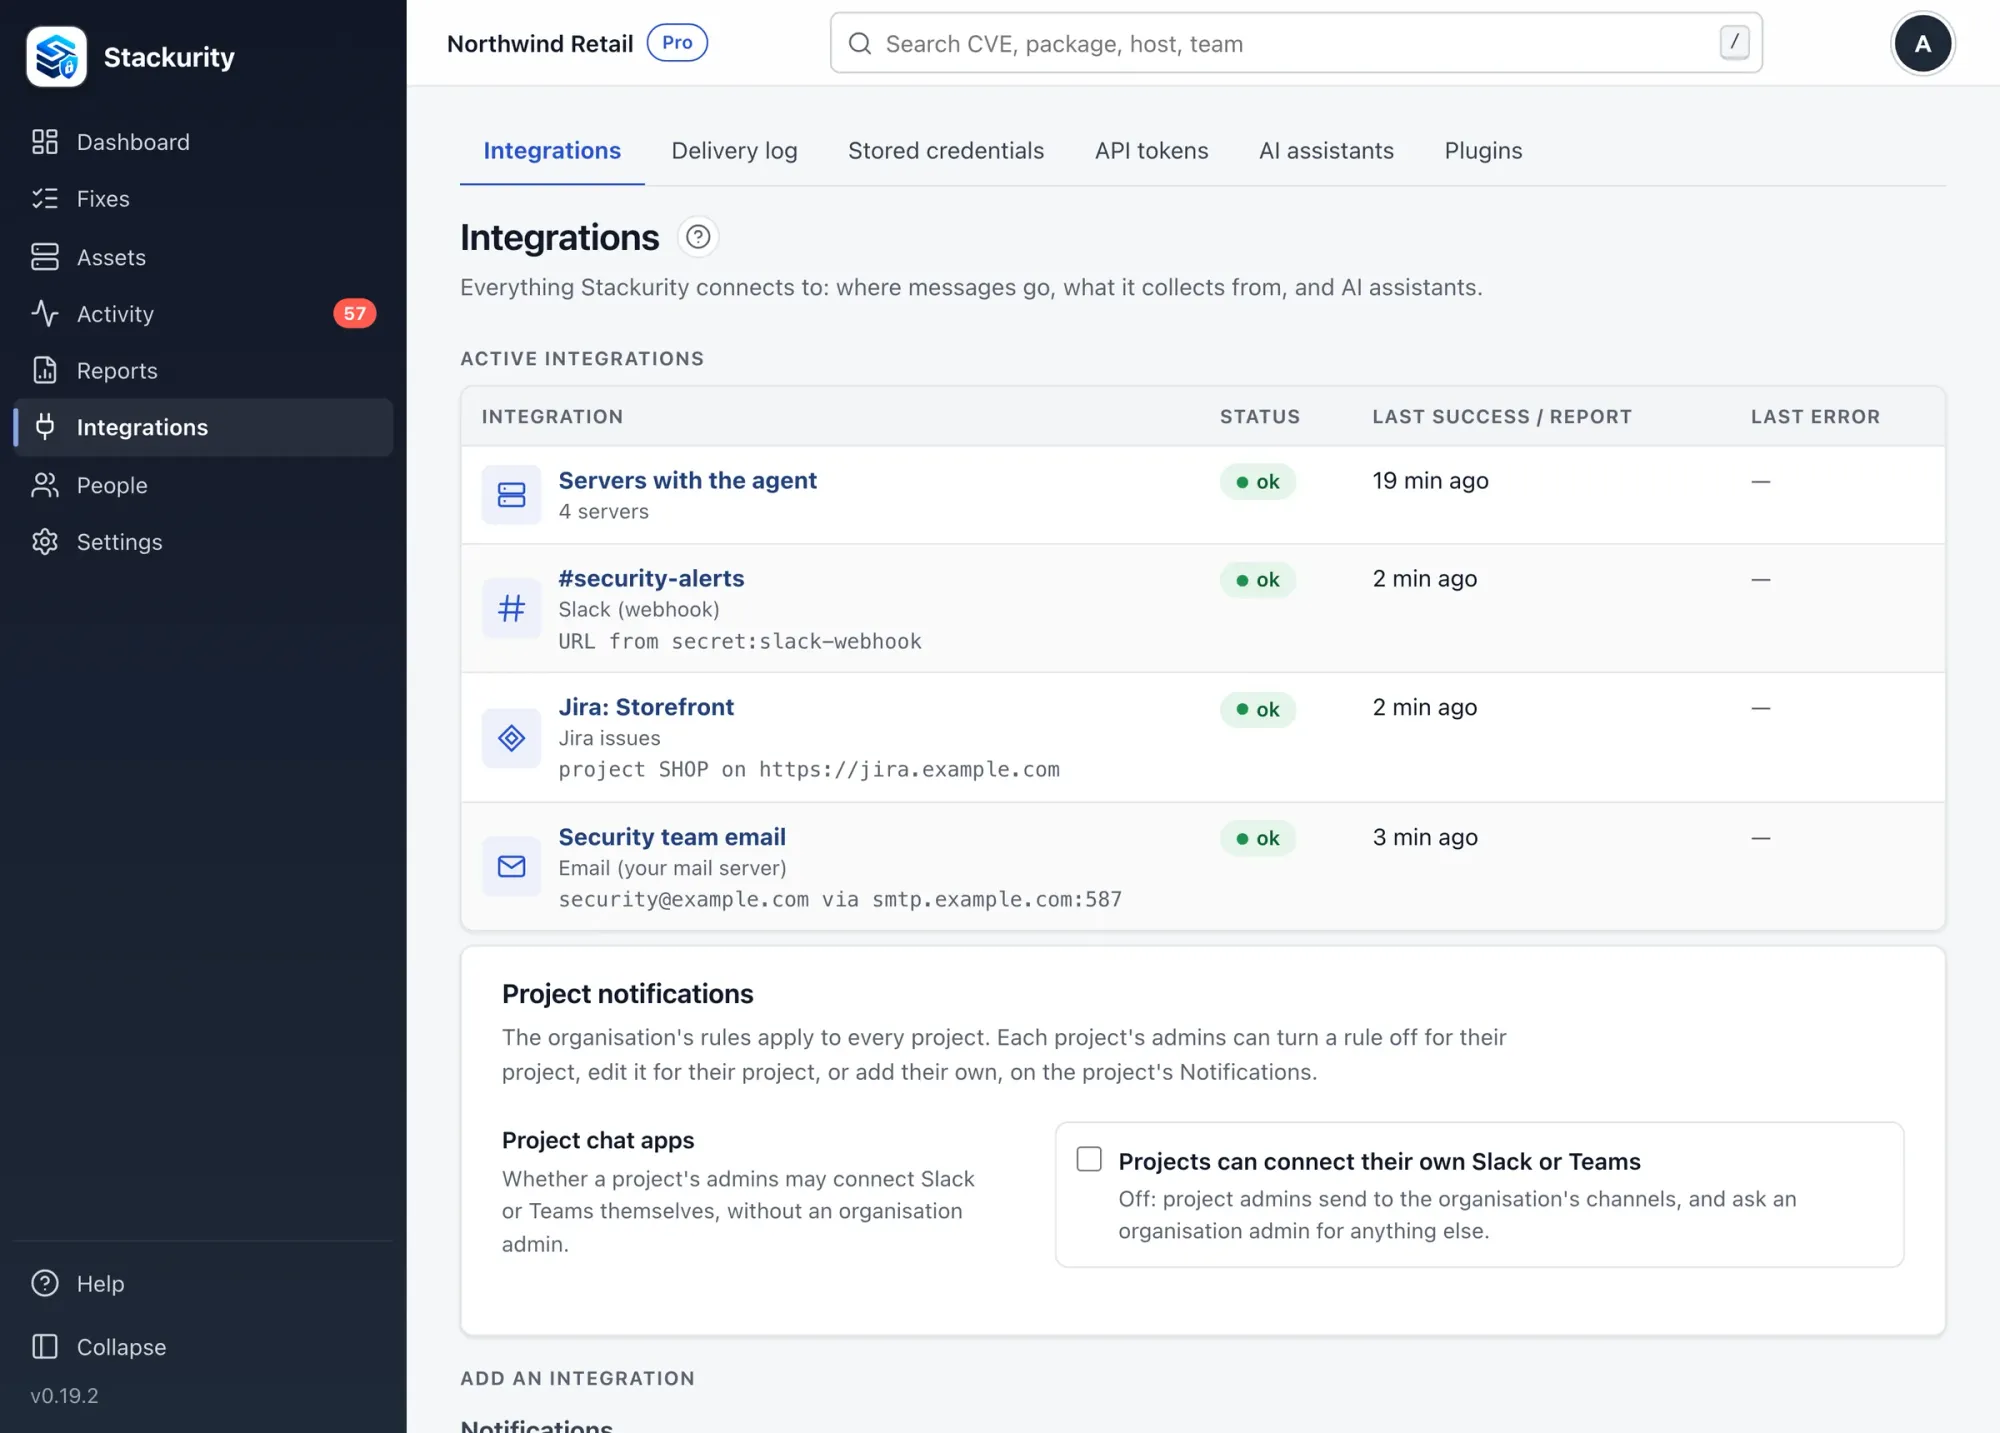
The value of the key never leaves the machine. Stackurity sends only the file, line, setting name, a fingerprint and a masked preview. Each leak can be assigned to a person or a team and has a rotate-by date, and the service knows the common issuers: it covers keys for AWS, GitHub, GitLab, Stripe and Slack, with short rotation steps for each.
It also treats rotation honestly. Marking a leak as rotated, with a note, does not resolve it. A complete scan that no longer finds the key shows it as verified gone, and a scan that still finds it shows it as still found after rotation. Check again asks the asset's collector to scan again. That is the confirmation step above, done across every asset. See how the remediation workflow works, and the guide to checking for a compromised npm package if the key may have been exposed by a bad dependency. Start a free trial of Stackurity and see where keys are written in your files.
FAQ
What do I do first when an API key is leaked in a repository?
Revoke or rotate the key at the service that issued it. Once it is revoked it can no longer be used, which solves most of the problem. Cleaning the repository comes after that and is often optional.
Is deleting the file or the commit enough?
No. The key stays in the repository history, in every clone and fork, and possibly in cached views. Deleting the file in a new commit hides it from the current tree, but anyone can read it from an older commit.
Do I need to rewrite Git history to remove a leaked secret?
Often you do not. If the credential is revoked or rotated, the extra work of rewriting history may not be worth it. Rewrite only when the data is sensitive in itself, and plan for the side effects on collaborators, open pull requests and commit hashes.
How do I stop it happening again?
Keep secrets out of the repository, scan for them before they are pushed, and give every token the narrowest permissions and a short life. Fine-grained personal access tokens can be limited to chosen repositories and given an expiry.
Does Stackurity see the value of a leaked key?
No. Stackurity finds keys, tokens and passwords written in files, and the value never leaves the machine. Only the file, line, setting name, a fingerprint and a masked preview are sent.
Sources
Sources: About secret scanning, Removing sensitive data from a repository and Managing your personal access tokens, all from GitHub, and the Stackurity product facts.